PrintNinja - online printing made easy for creators
Saddle-Stitched Binding
This article will teach you about the saddle-stitch binding process and how it impacts your printed project.
Saddle stitching is definitely the simplest form of binding: two staples are inserted into the spine, holding all of the pages together. It’s a much more straightforward process than hardcover/casebound or perfect-bound/softcover book binding!
As the first step in the process, the cover and book block are collated, with signatures placed one inside the other. Most saddle-stitched projects contain 3 or fewer signatures so that there aren’t more pages than the staples can handle – this is why saddle-stitching is an especially popular binding method for comic books: they have fewer pages than, say, a novel.
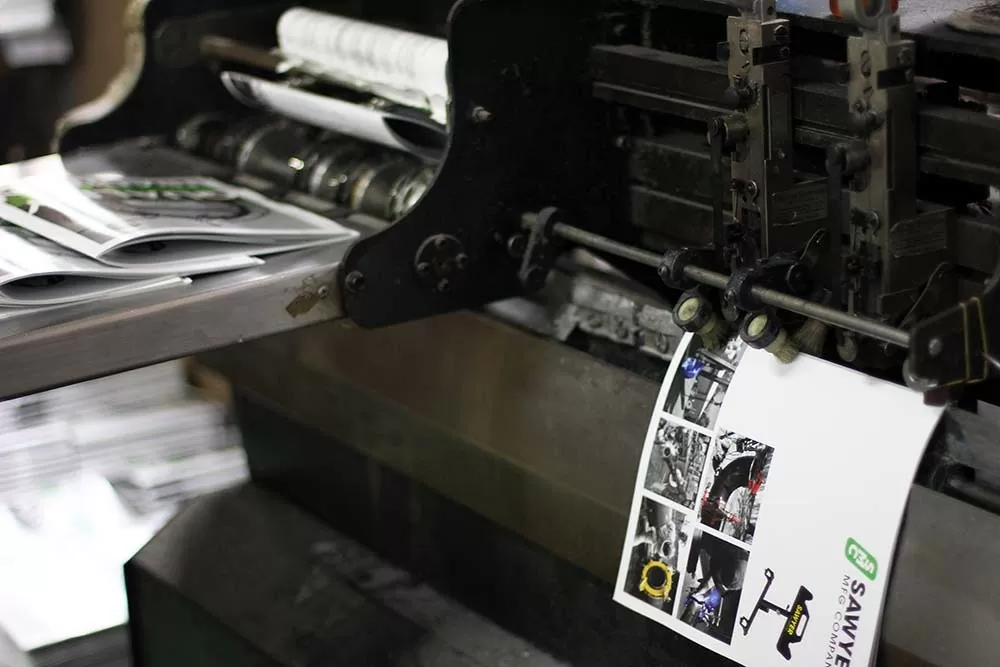
Next, the collated pages are put through a stitching machine for stapling. The pages are draped across either side of a “saddle” – hence “saddle-stitched” – belt that runs along the entire machine, and the V-shaped belt helps align all the pages at the central fold for a symmetric binding. The project then moves down the line and staples are inserted at the crease.
Finally, the stapled project is trimmed down to its final size in a guillotine, leaving you with a great looking saddle-stitched project.
In the case of projects printed in our Illinois facility, the saddle stitch process is even more simple. A pile of collated printed sheets is fed into our booklet making machine that folds, stitches, and trims the booklets in a successive series of operations. In special cases where the booklet maker is not a viable option for binding, we also utilize a stitching machine that applies staples to the binding, and a booklet roller, which helps flatten finished books and provides a clean, crisp spine.
