PrintNinja - online printing made easy for creators
Punch-Out Sheet Setup Guides
The following page contains setup guides for:
- Punch-Out Sheet Artwork
- Single Sided Punch-Out Sheet Printing
- Double Sided Punch-Out Sheet Printing
Punch-Out Sheet Artwork Setup

Manufacturing Restrictions
- Punch-outs that have an extremely small diameter will require using a different material than the standard greyboard (thick card or cover stock), so they will be less durable. The smallest punch-out tokens we can use on grayboard are 0.59”, though we recommend 0.79” to be safe.
- If there are too many small pieces (circles and squares) on one large sheet, the die cut machine will not work. If there are very small punch-outs on a LARGE SHEET, you will need to confirm with your Account Manager if it is workable.
- Punch-outs need to be spaced .25” apart from one another when printing on a sheet.
- The punch-out die line needs to be at least .24” away from the TRIM of the sheet.
- 0.125″ bleed is recommended for punch-outs. Bleed between punch-outs can overlap.
- Please be aware of punch-out artwork utilizing a uniform 0.125″ border in your project. Due our inherent, unavoidable manufacturing variances, the borders might appear slightly uneven. While the variance is only a couple of millimeters, on a border as thin as .125″ this can become obvious. The only way to avoid this altogether is to eliminate the border or make it thicker. (Note that for extremely small punch-outs where a 0.125″ border is not feasible, a 2mm border would be acceptable).
- For custom punch-out shapes, please be sure to send along your artwork to your account manager, as they will need to confirm the shape can be manufactured as-is.
SINGLE SIDED PUNCH-OUT SHEET PRINTING
Follow the below instructions when setting up your artwork in your selected design program.
Page Count = However many unique designs you are quoted for.
Document size = quoted sheet trim size
Bleed = 0.125” on all four sides of the sheet. Be sure to extend the applicable background artwork to the full bleed on all four sides. Be sure to select “Include Document Bleed Settings” in the PDF export window.
Margin = 0.125” on all four sides of the sheet. Anything inside this margin will be SAFE from potentially being trimmed off during the production run. (Note that for extremely small punch-outs where a 0.125″ margin is not feasible, a 2mm margin would be acceptable).
Be sure to establish two layers in the document:
– Bottom Layer = Printed Artwork
– Top Layer = Die Cut
Be sure to extend the background artwork for each individual punch-out to bleed at least 0.125” outside the die cut shape.
Be sure to keep all crucial text and artwork at least 0.125” inside the die cut shape to ensure nothing is trimmed off during production.
Submitting Your Artwork
We will need a total of two PDFs submitted for each unique design: one with and one without the guide layer visible.
File Export Settings
Adobe InDesign – Follow the “Export Settings” as highlighted on this page.
Adobe Illustrator – Follow the “Export Settings” as highlighted on this page.
Adobe Photoshop – Follow the “Export Settings” as highlighted on this page.
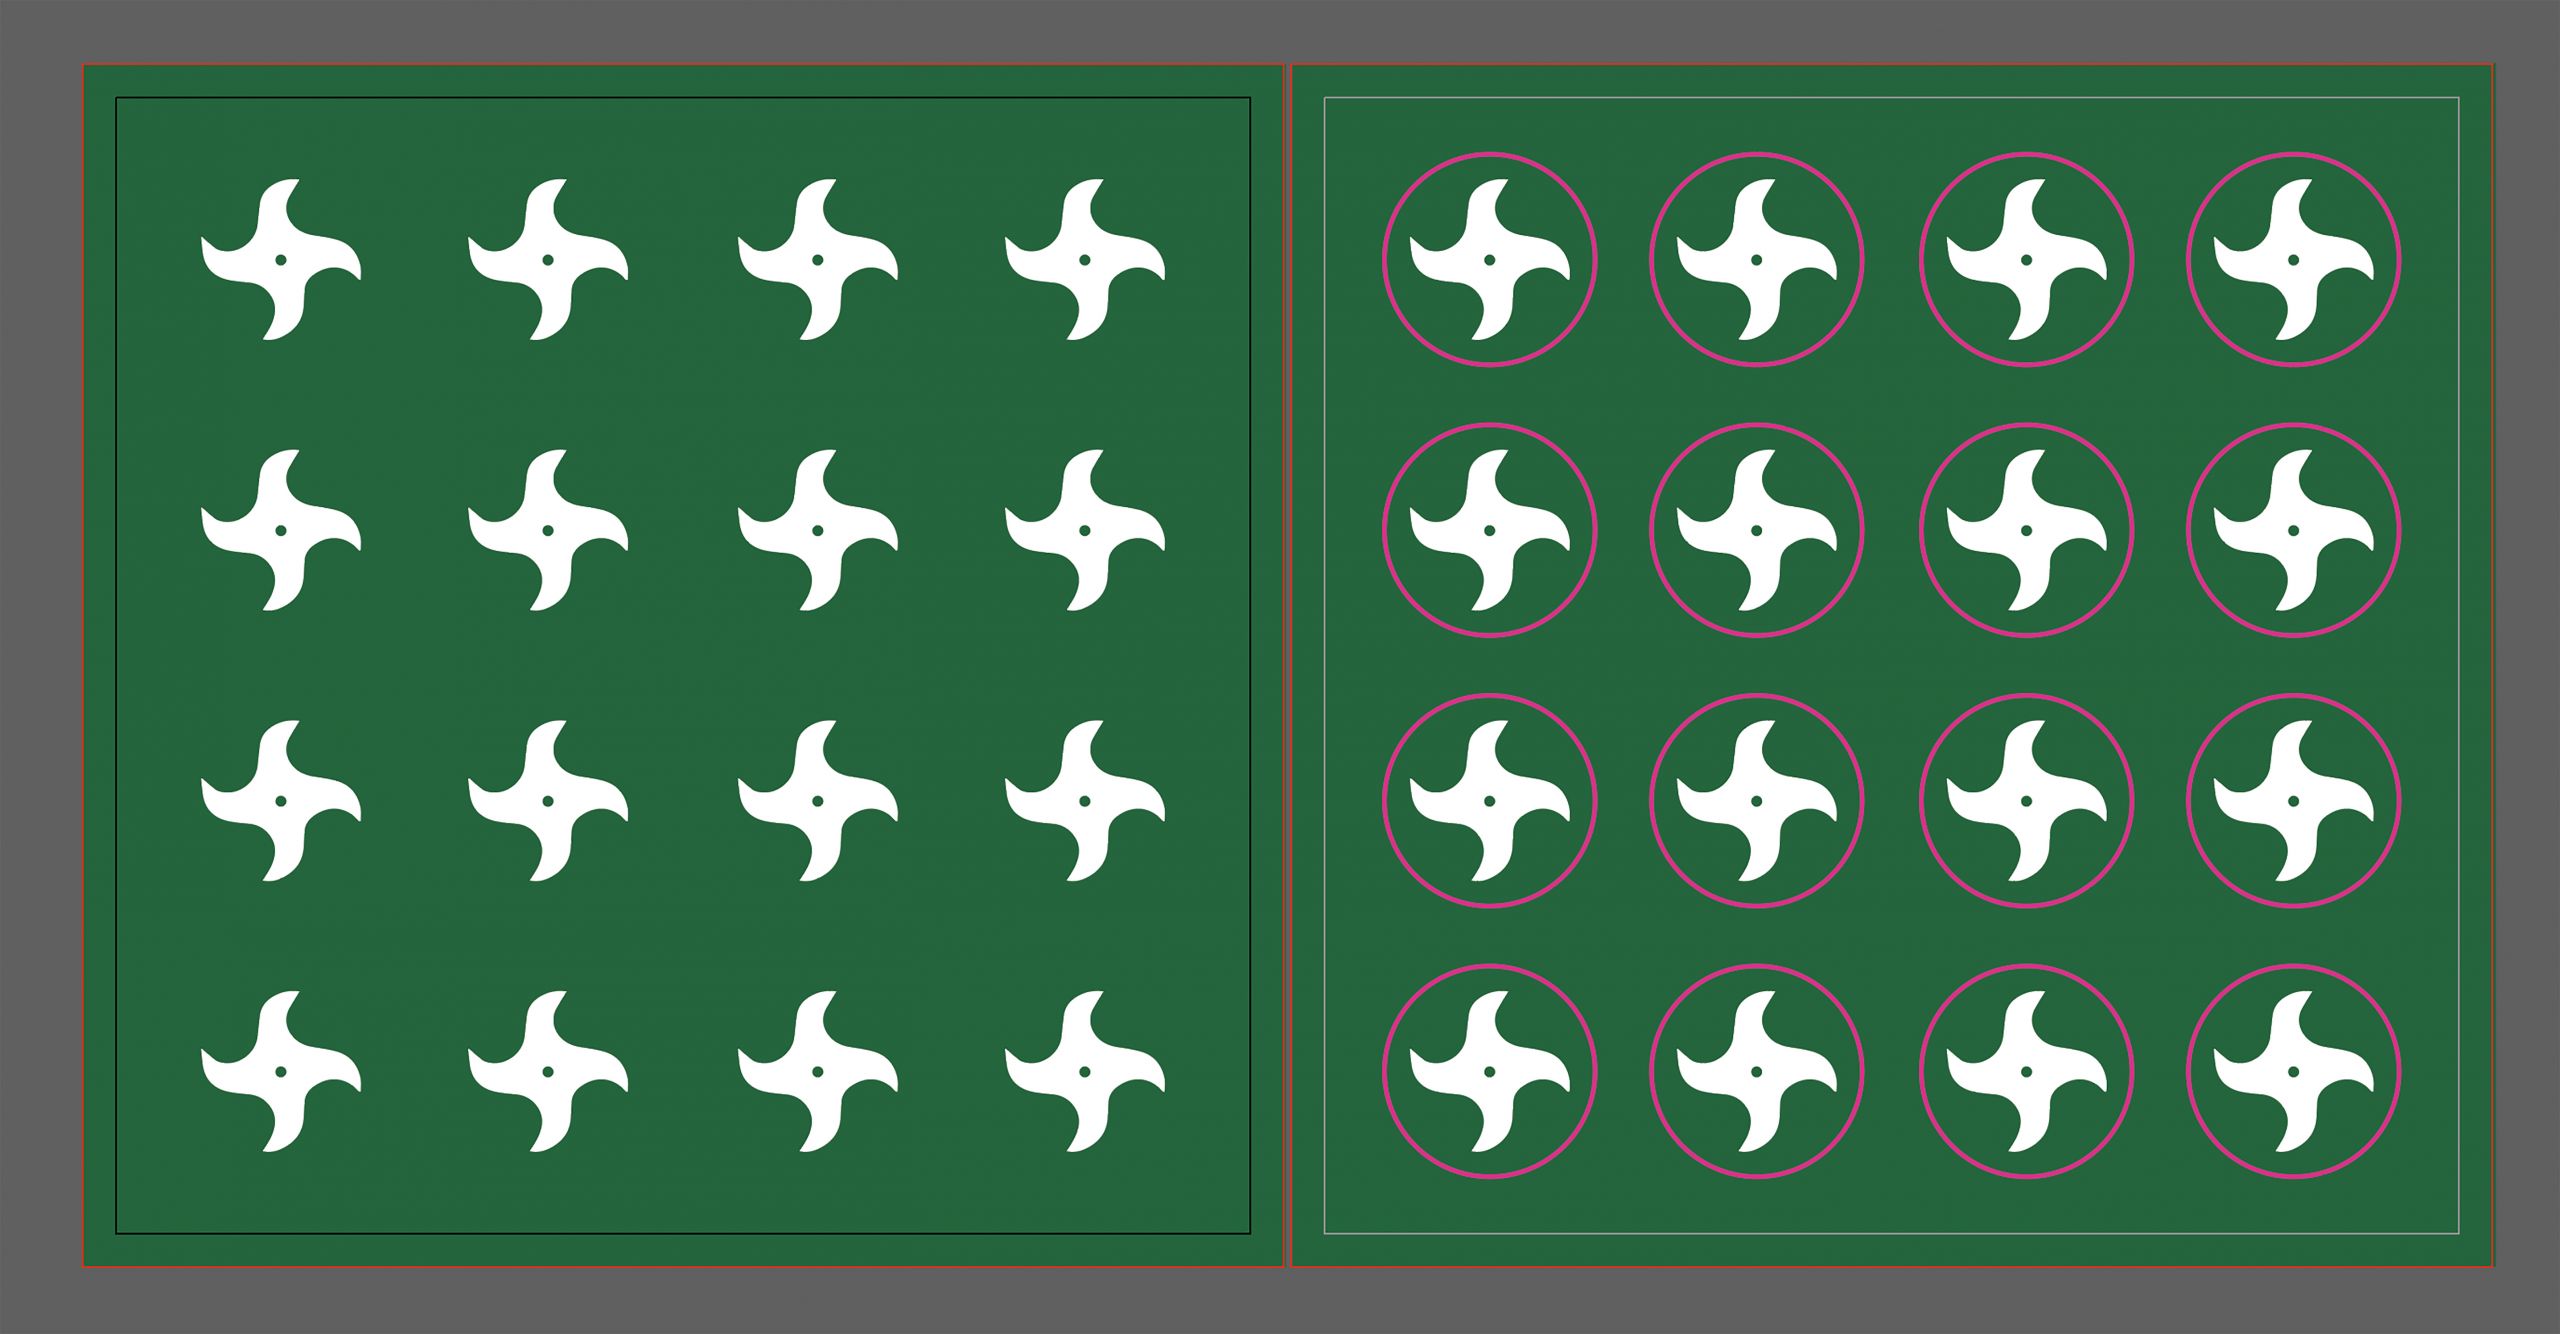
Can I see an example of print-ready artwork?
Of course! Please see the below image for an example of print-ready punch-out sheet artwork with single-sided printing:

DOUBLE SIDED PUNCH-OUT SHEET PRINTING
Follow the below instructions when setting up your artwork in your selected design program.
Page Count = 2 x however many unique designs you are quoted for.
Document size = quoted sheet trim size
Bleed = 0.125” on all four sides. Be sure to extend the applicable background artwork to the full bleed on all four sides. Be sure to select “Include Document Bleed Settings” in the PDF export window.
Margin = 0.125” on all four sides. Anything inside this margin will be SAFE from potentially being trimmed off during the production run. (Note that for extremely small punch-outs where a 0.125″ margin is not feasible, a 2mm margin would be acceptable).
Be sure to establish two layers in the document:
– Bottom Layer = Printed Artwork
– Top Layer = Die Cut
Be sure to extend the background artwork each individual punch-out at least .125” outside of the die cut shape.
Be sure to keep all crucial text and artwork at least .125” inside the die cut shape to ensure nothing is trimmed off during production.
Submitting Your Artwork
- We will need a total of four PDFs submitted for each unique design: on with and one without the guide layer visible for each side of the sheet
File Export Settings
Adobe InDesign – Follow the “Export Settings” as highlighted on this page.
Adobe Illustrator – Follow the “Export Settings” as highlighted on this page.
Adobe Photoshop – Follow the “Export Settings” as highlighted on this page.
Can I see an example of print-ready artwork?
Of course! Please click here to download a PDF example of print-ready artwork for ONE double-sided 4.25″ x 4.25″ punch-out sheet.