PrintNinja - online printing made easy for creators
Custom Die Cut Tiles Setup Guides
The following page contains setup guides for:
- Custom Die Cut Tiles Artwork
- One-Side Printing Artwork Setup
- Double-Side Printing Artwork Setup
Custom Die Cut Tiles Artwork Setup
Manufacturing Restrictions
- For custom tile shapes (i.e. complex shapes), please be sure to send along your artwork to your account manager, as they will need to confirm the shape can be manufactured as-is.
- The MOQ for custom die cut tiles is 500 units. This does not mean 500 individual pieces, this means 500 units of a game where the die cut tiles are one of the components.
- Maximum size is 15” x 15”.
- Minumum size is 0.59” circle or square.
- The recommended thickness is 0.06” or 0.08”.
- The thickest greyboard we offer is 3mm.
ONE-SIDE PRINTING ARTWORK SETUP
Follow the below instructions when setting up your artwork in your selected design program.
Page Count = However many unique designs you are quoted for.
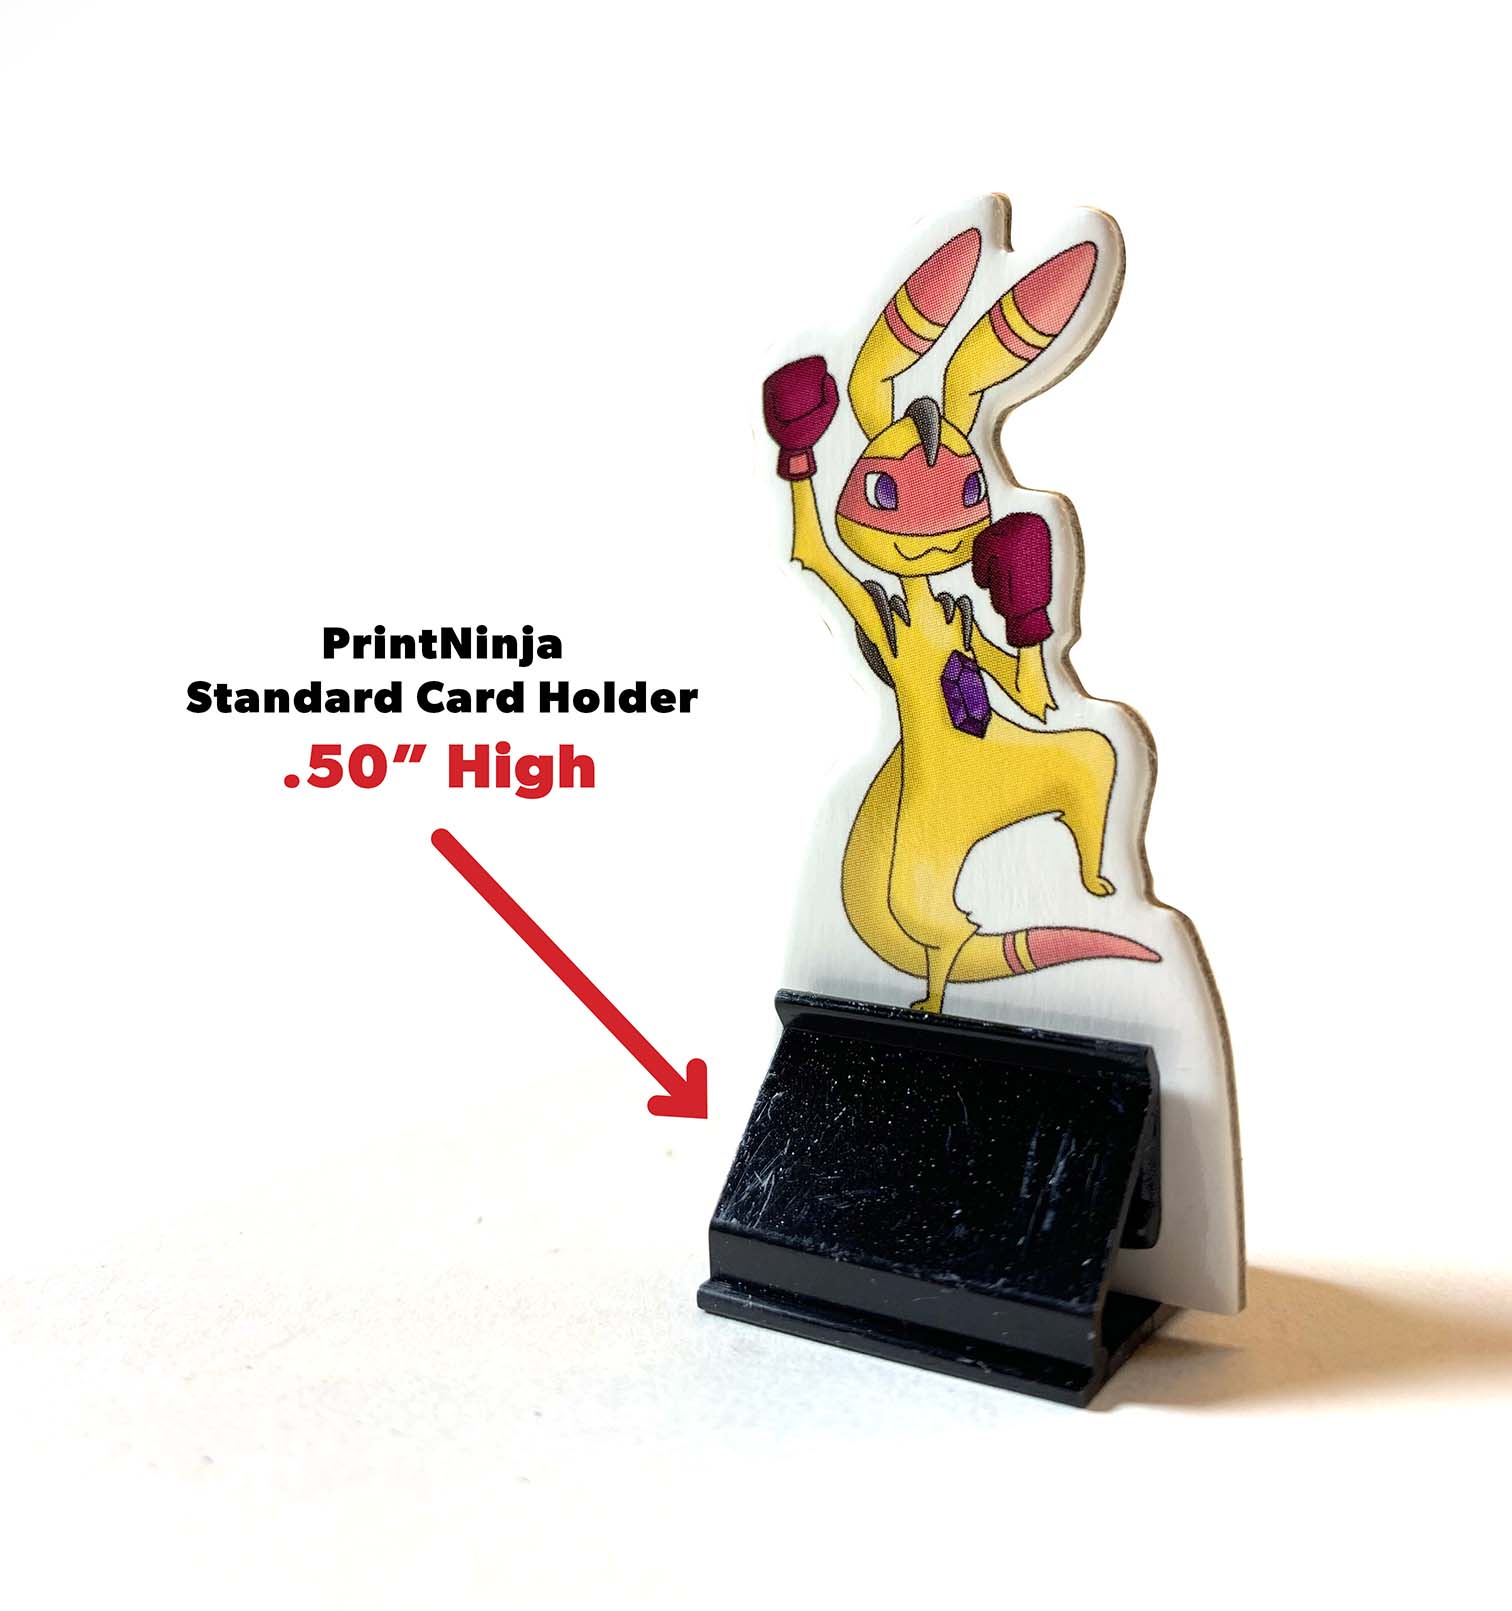
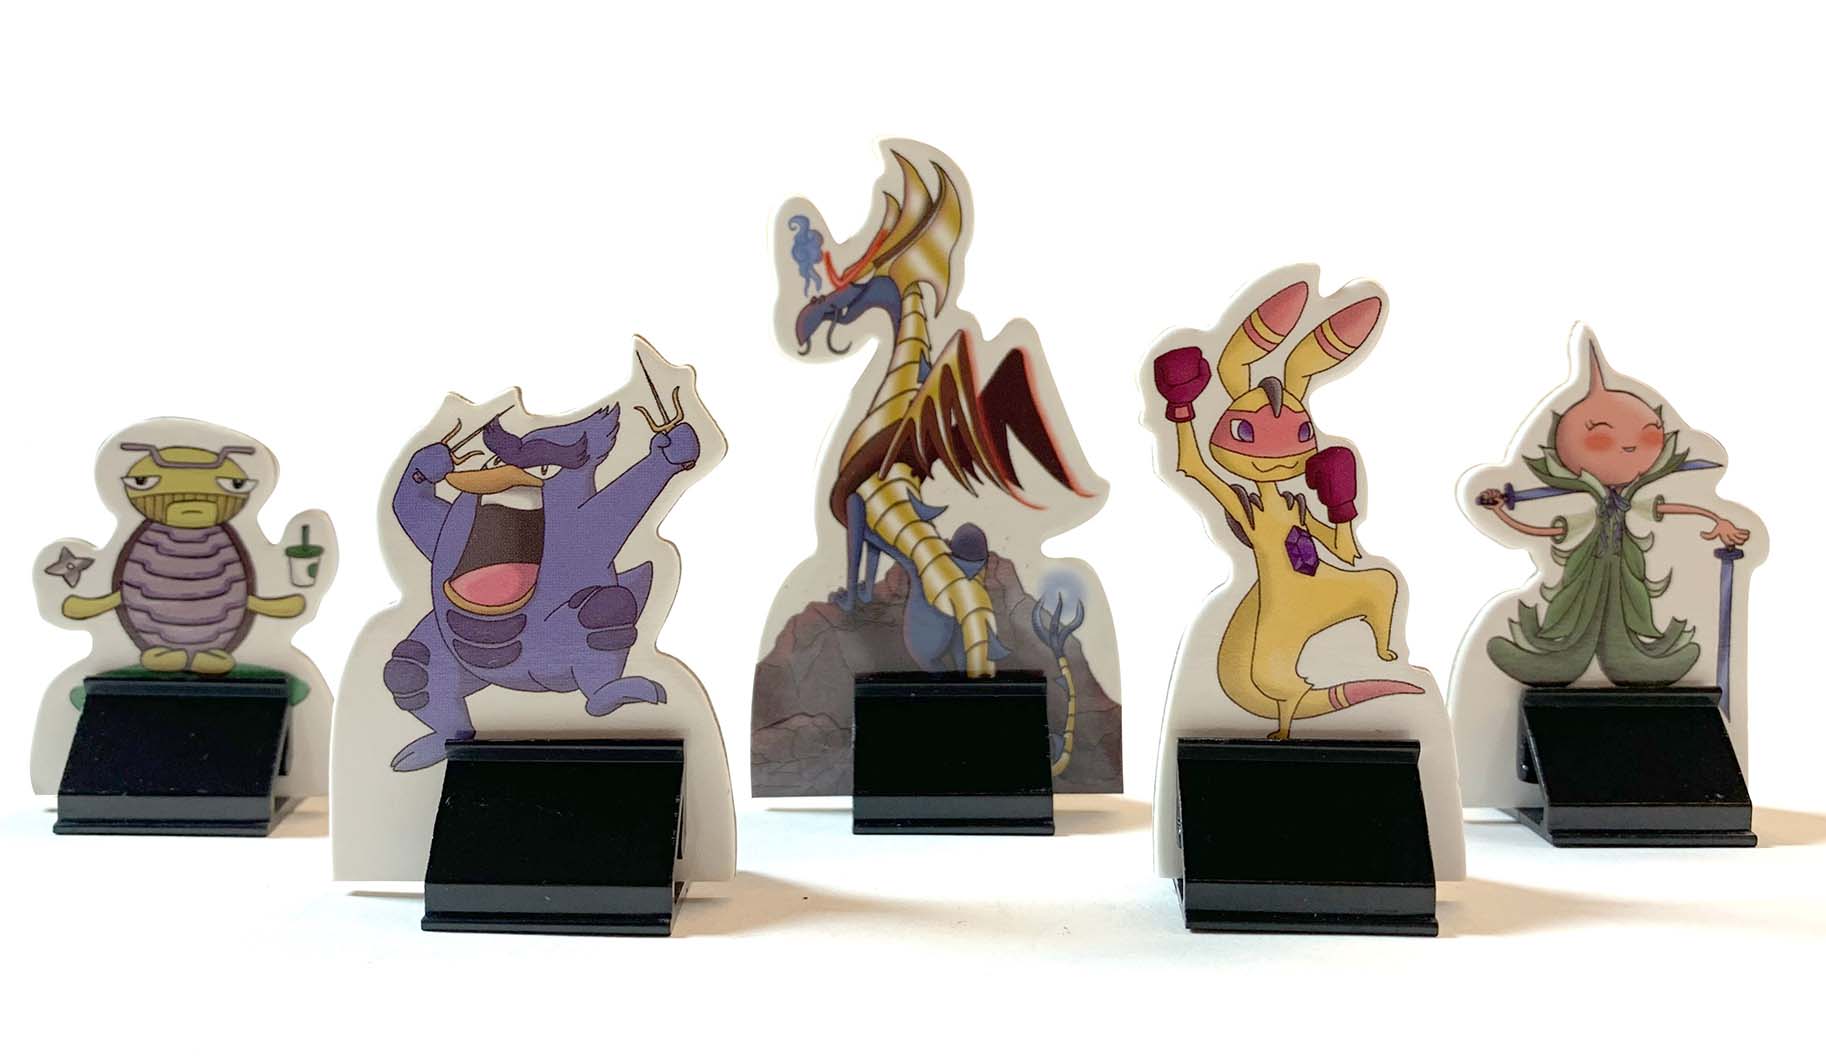
Document size = quoted trim size. PLEASE NOTE! It’s recommended to build in a little extra BLANK space when factoring your trim size for the area where your tile will be held by a stand. If you don’t account for this area, a good portion of your artwork may be hidden from view. This is something that is easily forgotten. See below for an image example:

Margin = 0.125” on all four sides. Anything inside this margin will be SAFE from potentially being trimmed off during the production run.
Be sure to establish two layers in the document:
– Top Layer = Die Cut
– Bottom Layer = Printed Artwork
Submitting Your Artwork
We will need a total of two files submitted for each unique design: one with and one without the die cut layer visible.
File Export Settings
Adobe InDesign – Follow the “Export Settings” as highlighted on this page.
Adobe Illustrator – Follow the “Export Settings” as highlighted on this page.
Adobe Photoshop – Follow the “Export Settings” as highlighted on this page.
Can I see an example of print-ready artwork?
Of course! Please download this PDF here for an example of print-ready artwork for one tile with one-sided printing.
DOUBLE-SIDE PRINTING ARTWORK SETUP
Follow the below instructions when setting up your artwork in your selected design program.
Page Count = 2 x however many unique designs you are quoted for.
Document size = quoted trim size. PLEASE NOTE! It’s recommended to build in a little extra BLANK space when factoring your trim size for the area where your tile will be held by a stand. If you don’t account for this area, a good portion of your artwork may be hidden from view. This is something that is easily forgotten. See below for an image example:

Margin = 0.125” on all four sides. Anything inside this margin will be SAFE from potentially being trimmed off during the production run.
Be sure to establish two layers in the document:
– Top Layer = Die Cut
– Bottom Layer = Printed Artwork
Submitting Your Artwork
- We will need a total of four files submitted for each unique design: one set of files for the front and one set of files for the back. Each set should content two versions of the same artwork, one with and one without the die cut layer visible.
File Export Settings
Adobe InDesign – Follow the “Export Settings” as highlighted on this page.
Adobe Illustrator – Follow the “Export Settings” as highlighted on this page.
Adobe Photoshop – Follow the “Export Settings” as highlighted on this page.
