PrintNinja - online printing made easy for creators
Manufacturing Printing Plates
How are printing plates made?
After imposition, each parent-sheet-sized art file is split out into four separate files, one for each color of ink: cyan, magenta, yellow, and black (CMYK). From there, each separated file is laser-engraved onto its own plate to be installed into the printing press.
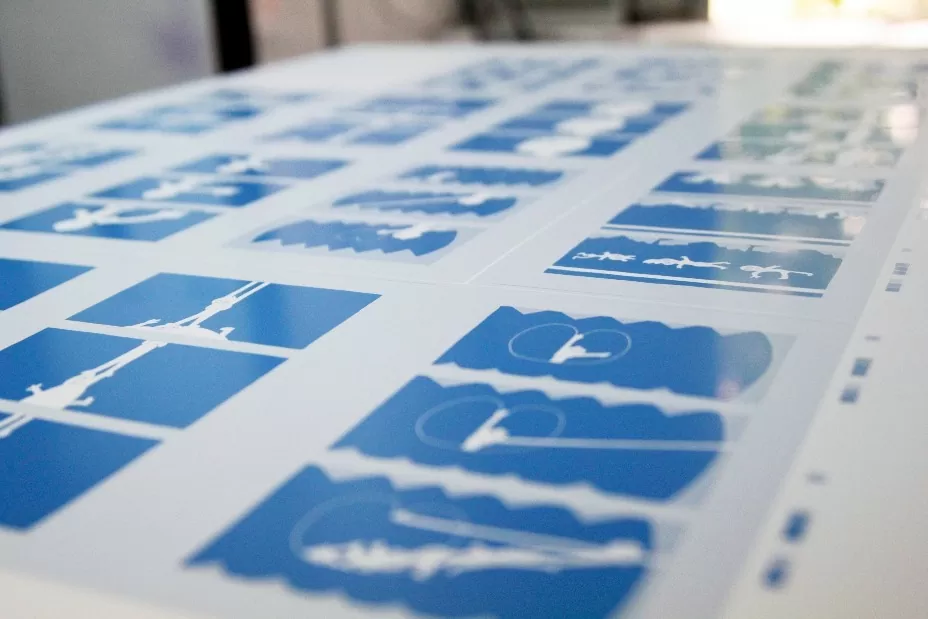
These thin metal plates are sturdy enough to be used for many thousands of impressions, yet also flexible enough to wrap around a rotating cylinder inside the printing press:

Don’t be fooled by the color: the coating on printing plates is blue, but this has no bearing on the color of ink the plate will apply.
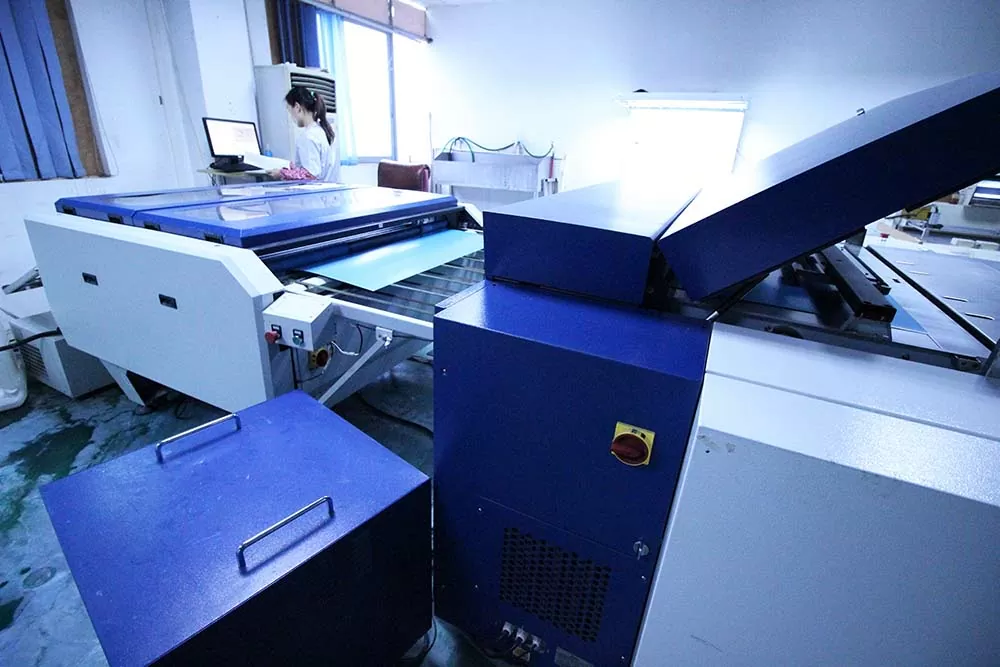
In the past, many printers used a photographic process to create printing plates, but these days most modern print shops use large Computer-To-Plate (CTP) machines like the one pictured here:

First, a coated thermal plate is inserted into the CTP image setter (large compartment to the right in the photo above), where lasers are used to output the image by heating areas of the plate to different degrees depending on how much ink each area should collect. The plate rolls out of the laser compartment and moves through a special cleaning solution that washes away the heated parts of the coating, leaving a negative of the image.
Watch how your plate is rinsed to reveal your images.
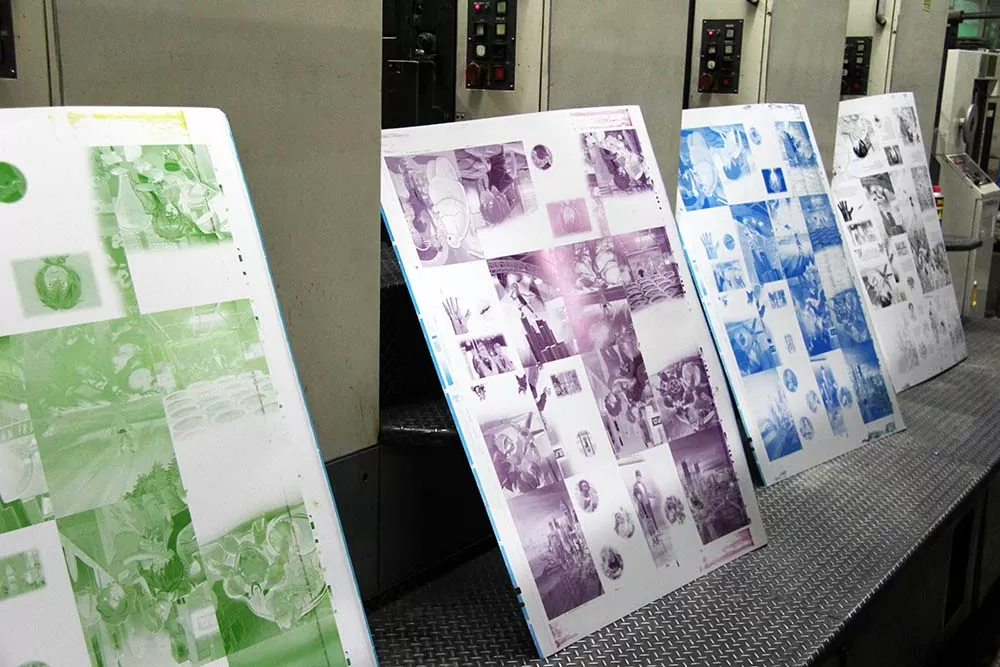
Remember, each parent sheet actually needs four plates, one for each color of ink to be applied. Below are four used printing plates that were just uninstalled from the press after being used to print a full-color parent sheet. It can be tricky to see which colors of ink are which due to the underlying blue color of the plates, but from left to right you can see the yellow, magenta, cyan, and black plates used on this job.
