Spot Gloss / Spot UV Setup Guide
Follow along with our spot UV setup guide to learn how to properly prepare your files for printing with PrintNinja.
For a video walkthrough on how to setup spot UV, check out our visual guide below:
Spot Gloss UV Setup Guide
To apply a spot UV to your project you will need to submit two versions of your cover.
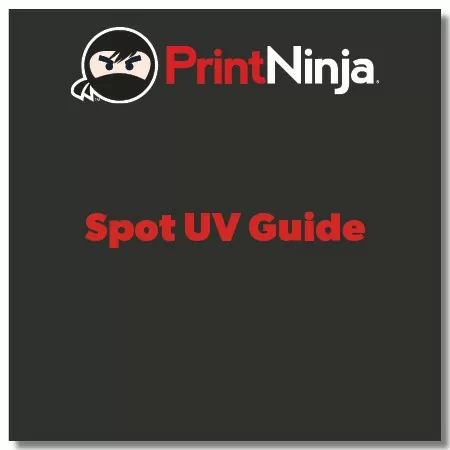
- A full color file containing all images that will be on your cover.
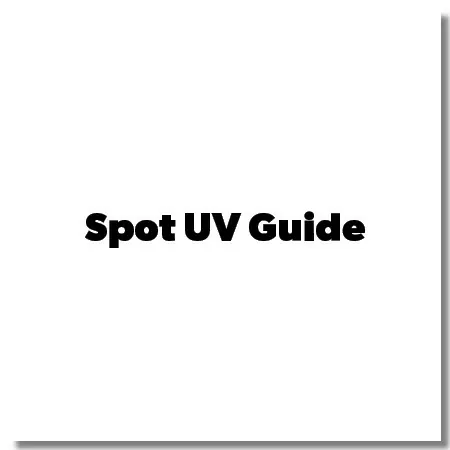
- A single-color file containing only the spot-UV element as a solid-black image or text.
Example of Setting up a Spot UV File
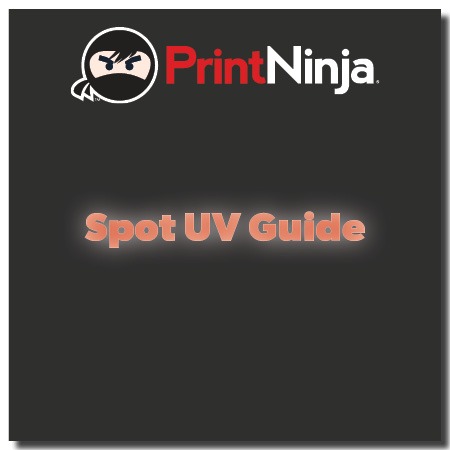
To the right is how your final cover will look with a spot UV applied (the UV is represented by the glowing edges). The “Spot UV Guide” text will have the UV applied to it, while the background and the PrintNinja logo will not have the same high-gloss look.
Below are the two cover files you need to submit. Both should be sized correctly according to our cover guides.
The first file, which is in full color, contains all of the elements of the cover including the title. Since the spot UV is only a varnish you can see the title underneath, so the entire cover will need to be printed before the varnish is applied.
The second file, which is submitted as solid black only, contains only the parts of the cover that will have the UV applied. Note that only the text is included on this file. The text needs to line up perfectly with the full color file for accurate results.
Click here for a PDF download example of print-ready Spot UV artwork based on the above examples.