PrintNinja - online printing made easy for creators
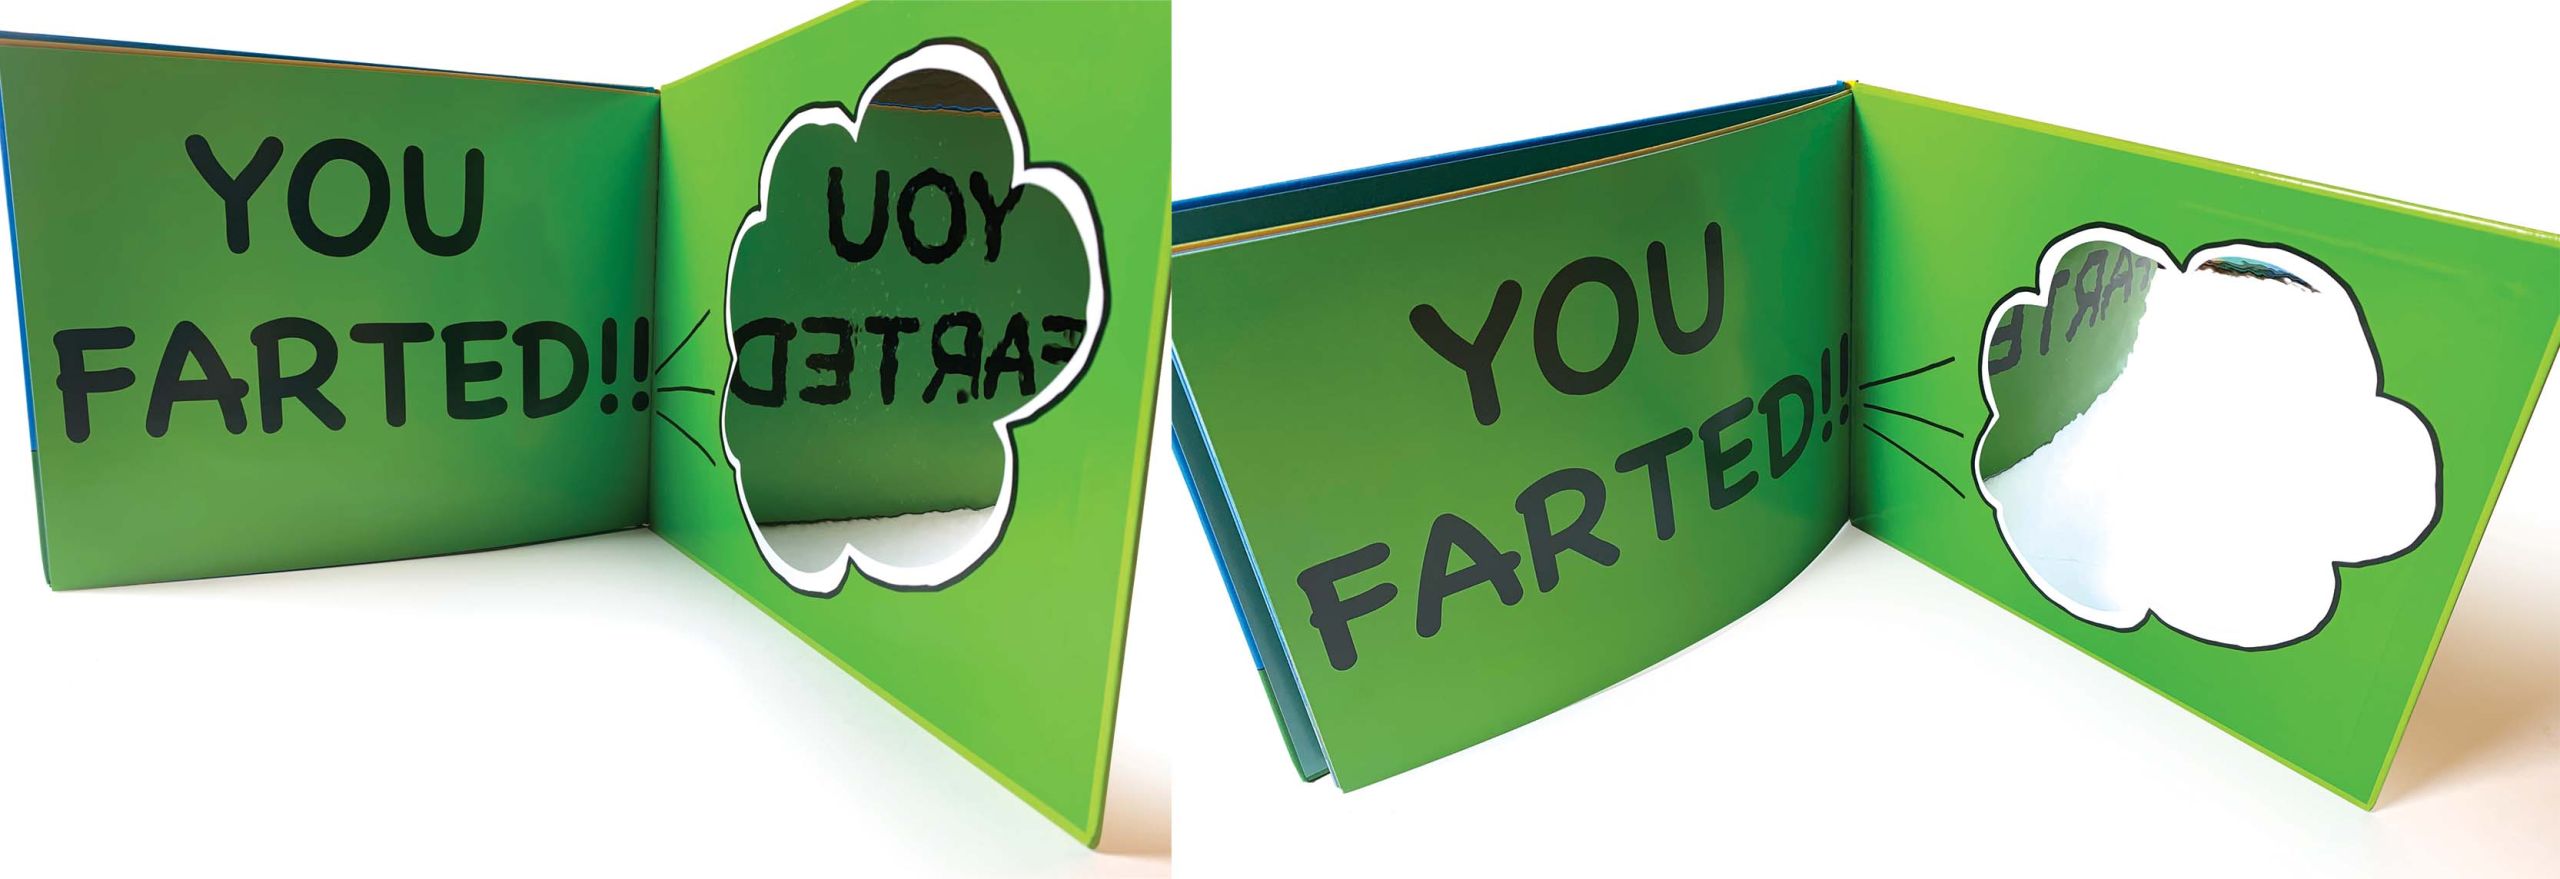
Added Mylar Mirror Artwork Setup Guide
File Setup
All you will need to do is make sure you have created a SECOND layer in your design program:
– Top Layer = Mirror Shape
– Bottom Layer = Printed Artwork
On the top layer, all you will need to do is create the mirror shape in 100% black, turn off the bottom layer, and export out the artwork!
Design Considerations and Restrictions
- We can only add a mylar mirror to casebound hardcovers (inside or outside cover only) and board book projects (anywhere).
- We only recommend using mylar on simple shapes in your design (circles, rectangles, squares, etc). Complex shapes, or shapes with lots of small details, create issues during the application process and are prone to peeling once applied.
- The mylar shape cannot bleed off the page. The mylar itself should be placed at least 15mm (.59”) away from the edge of your page or binding.
- Mylar cannot cross over the spine or binding of a project.
Submitting Your Artwork
To add a mylar mirror to a page in your book, you will need to submit two unique versions of your artwork file.
File #1: A full-color file that contains all content (images and text) on your cover that will be printed. The mylar is applied after the artwork is printed. Any printed elements under the mylar area will not be visible.
File #2: A single-color file that contains only the foil stamped area in solid black.
For more information adding a mylar mirror to your book click here.
File Export Settings
Adobe InDesign – Follow the “Export Settings” as highlighted on this page.
Adobe Illustrator – Follow the “Export Settings” as highlighted on this page.
Adobe Photoshop – Follow the “Export Settings” as highlighted on this page.
Can I see an example of print-ready artwork?
Of course! Please download this PDF for an example of print-ready artwork for an added mylar mirror placed on the inside back cover of a 6” x 6” board book.
