PrintNinja - online printing made easy for creators
Custom Wood Meeple Setup Guides
The following page contains setup guides for:
- Custom Wood Meeple Artwork
- Pad-Printing Artwork
- Added Sticker Artwork
Custom Wood Meeple Artwork Setup
Manufacturing Restrictions
- IMPORTANT: We will need to see mockup artwork PRIOR to placing an order to confirm the shape/artwork/size is workable and to provide any recommended adjustments from the vendor. Only after vendor approval can we quote the component and, later, run Prepress on the artwork.
- Some good rules of thumb for the shape of the meeple is to keep the shape simple, with no sharp corners and no narrow extremities.
- The MOQ for custom wood meeples is 2000 units. This does not mean 2000 individual pieces,this means 2000 units of a game that contains a set of identical meeples.
- The background color of the meeple will default to the selected meeple color in the online calculator. If you would like a CUSTOM color that is not available in the online calculator, dying is possible, but needs to be requested during quoting. A Pantone Matching System (PMS) Spot Color will need to be provided by you via PMS number if you go the custom color route.
- More than two pad-printed colors plus a base color may be possible, but it will need to be evaluated in advance of quoting.
- Printed strokes/shapes are recommended to be at least 0.04” thick.
- Printed designs should be kept at least 0.08” way from the edges of the meeple.
- A minimum size of 0.39” x 0.39” is required for adding a sticker to a custom wood meeple.
What Mockup Artwork Does the Vendor Need to See?
When submitting artwork for vendor approval, you should be submitting mock-up artwork at the intended trim size. Be sure to include artwork for the reverse side if you would like both sides printed/stickered.
The artwork size should include the intended wood shape, not just the printed/sticker artwork.
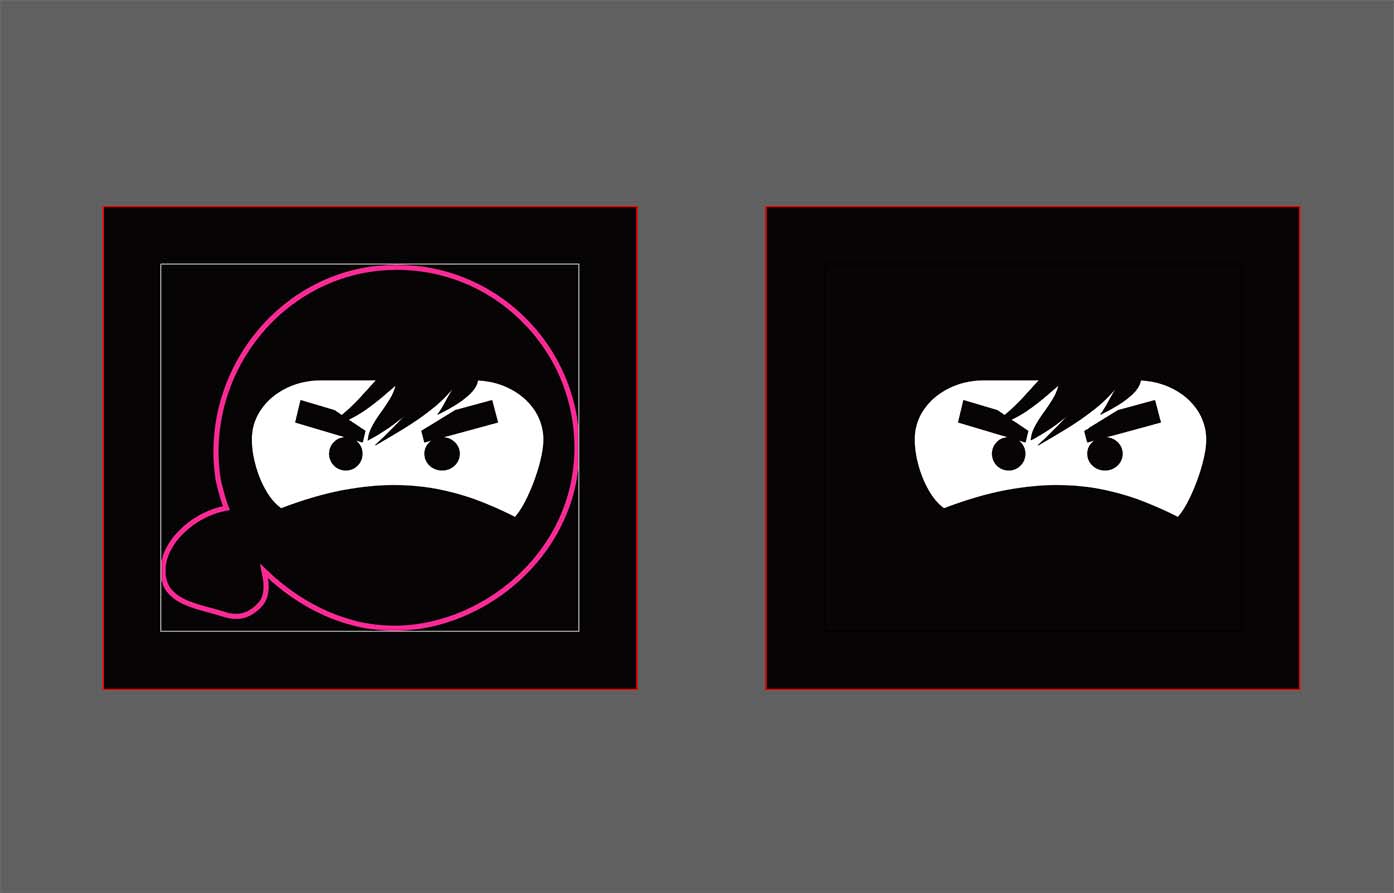
See below for an example of a mock up file:

Pad-Printing Artwork Setup
The artwork should be submitted in vector-format (Adobe Illustrator file).
Page Count = However many unique designs you are quoted for. If you are printing both sides, the page count should be doubled.
Document size = quoted trim size.
Bleed = N/A
Margin = 0.08” on all four sides. Anything inside this margin will be SAFE from potentially running off the edges of the meeple. See Manufacturing Variance.
Be sure to establish two layers in the document:
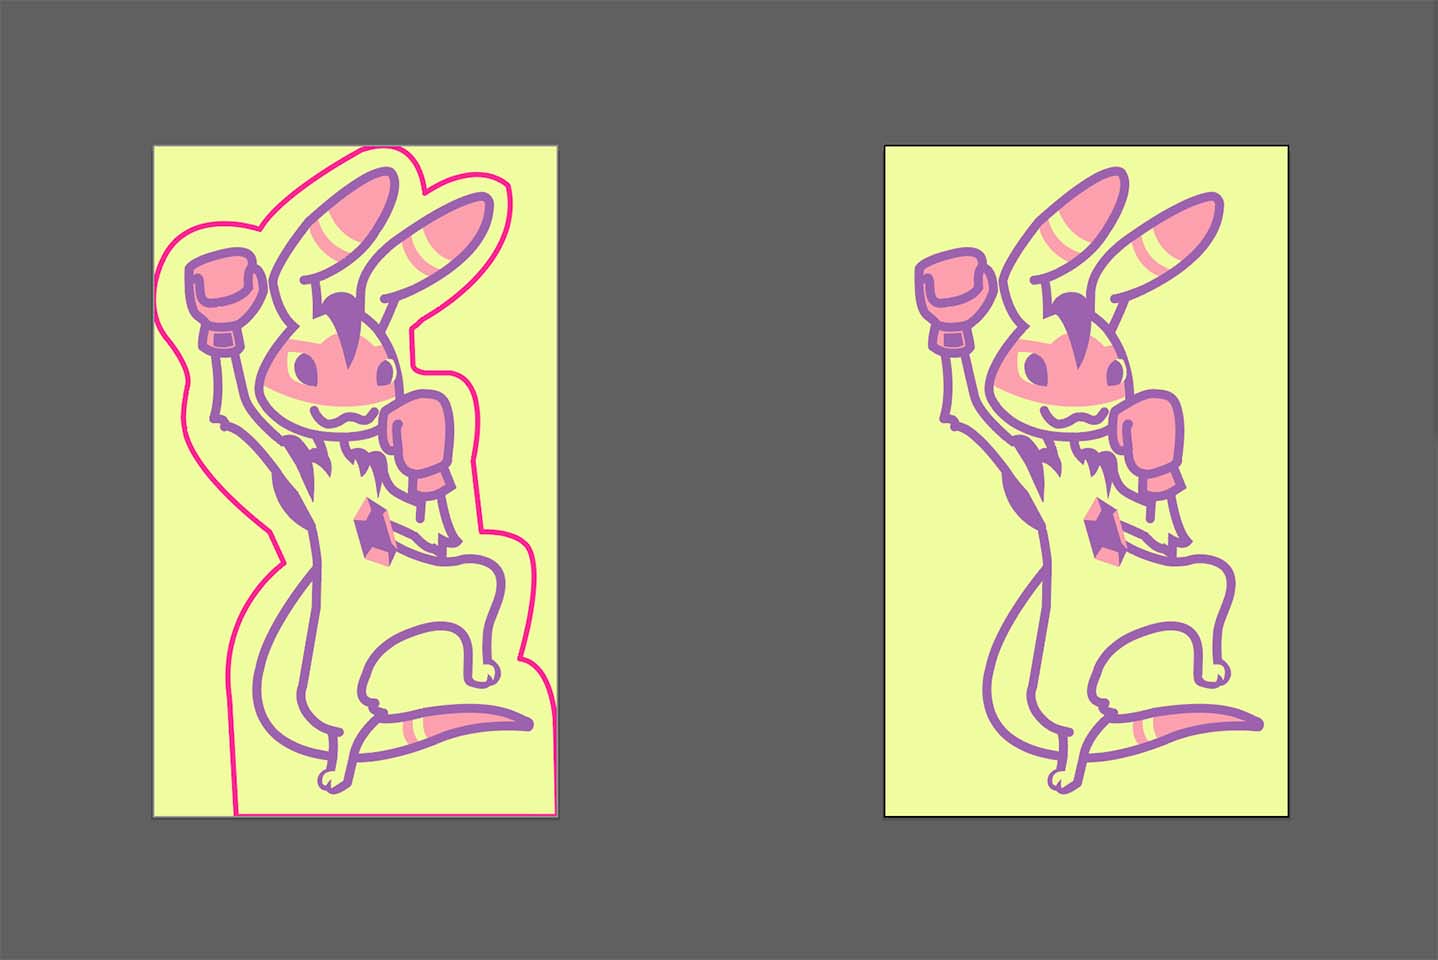
– Top Layer = Die Cut Shape. This will be the shape of the meeple. This should be a magenta line/stroke.
– Bottom Layer = Pad-Printed Artwork
The pad-printed artwork should be created in ONLY Spot Color.
Submitting Your Artwork
We will need a total of two files submitted for each unique design: one with and one without the die cut layer visible.
File Export Settings
Adobe Illustrator – Follow the “Export Settings” as highlighted on this page.
Can I see an example of print-ready artwork?
Of course! Please see the below image for an example of print-ready artwork for one meeple with one-sided printing:

Added Sticker Artwork Setup
Page Count = However many unique designs you are quoted for. If you are adding a sticker to both sides, the page count should be doubled.
Document size = quoted trim size.
Bleed = 0.125” on all four sides. This is necessary for the sticker artwork. Be sure to extend the background artwork to all four sides.
Margin = 0.125” on all four sides. Anything inside this margin will be SAFE from potentially being trimmed off during production on the sticker. See Manufacturing Variance.
Be sure to establish two layers in the document:
– Top Layer = Die Cut Shape. This will be the shape of the meeple AND the sticker. This should be a magenta line/stroke.
– Bottom Layer = Sticker Artwork
Submitting Your Artwork
We will need a total of two PDF files submitted for each unique design: one with and one without the die cut layer visible.
File Export Settings
Adobe InDesign – Follow the “Export Settings” as highlighted on this page.
Adobe Illustrator – Follow the “Export Settings” as highlighted on this page.
Adobe Photoshop – Follow the “Export Settings” as highlighted on this page.
Can I see an example of print-ready artwork?
Of course! Please see the below image for an example of print-ready artwork for one meeple with a sticker added to one side:

