PrintNinja - online printing made easy for creators
Die Cutting Artwork Setup Guide
Artwork Recommendations & Limitations
- If you decide to apply multiple die cuts on one sheet, the shapes will need to be at least 15mm (or .59in) apart on board books and hardcover books. The shapes will need to be at least 8mm (or .31in) apart for other binding types.
- Shape must be at least 2.45mm (or .10in) thick for perfect/wire/spiral-bound and saddle-stitched projects.
- Shape must be at least 6mm (or .24in) thick for hardcover projects.
- Again, the shape should have been approved by our vendor during quoting.
Artwork Setup Guides
See below for a walkthrough of how we recommend submitting artwork for a die cut.
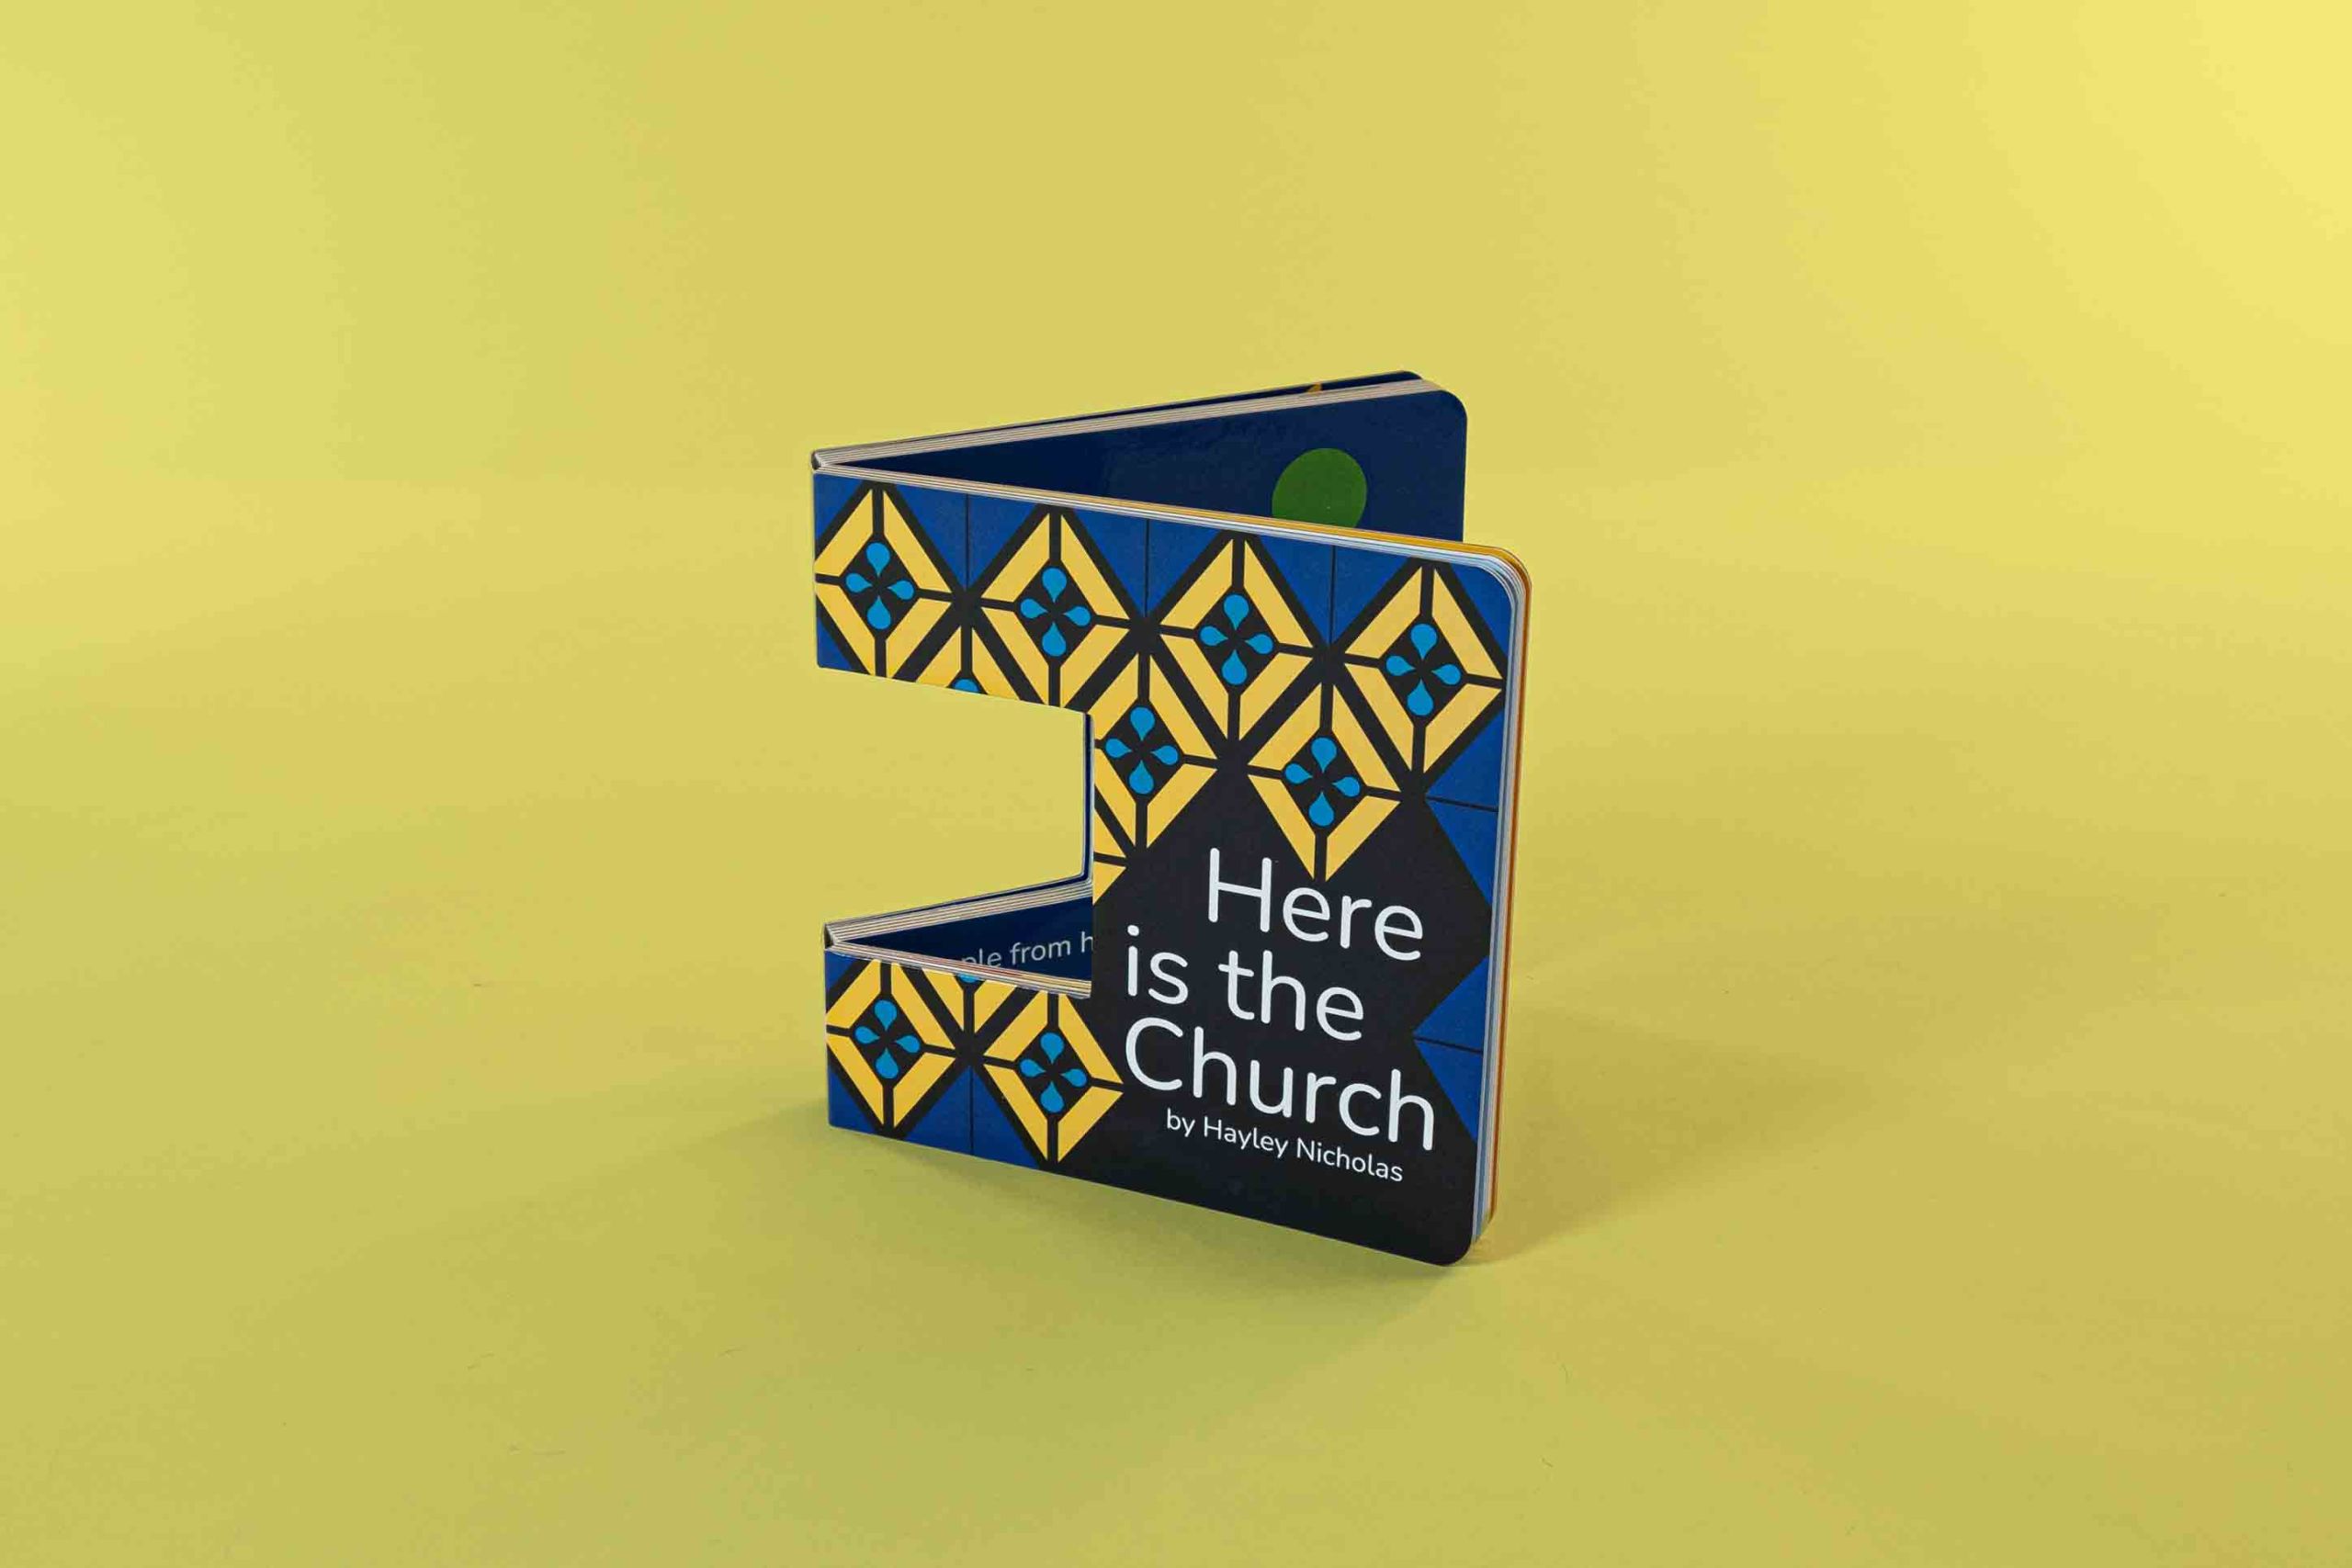
Die Cut Printed Cover
When setting up the artwork be sure to reference the correct cover setup guide.
We will need a total of 2 PDFs:
- 1 PDF of the shape in 100% black.
- 1 PDF of the printed cover artwork WITHOUT the die cut shape. There is an inherent manufacturing variance of 1-2 mm that can happen during production. If you include the die cut shape with the printed artwork, this may potentially cause an issue with your die cut when attempting to register the cut with the printed artwork. To put it simply: Odds are high the printed shape and the actual die cut shape will not line up perfectly and things will look wonky!
You should just be creating a separate layer for the die cut shape and exporting out that layer with the printed layer turned off for the die cut shape PDF.
See below for a quick video reference:
Download the attached PDF to see the print-ready example of the artwork produced in the above walkthrough! Be sure to reference this PDF as this is exactly what we will need from you when the time comes to upload your artwork.
Die Cut Fabric/Faux Leather Cover
When setting up the artwork be sure to reference the correct cover setup guide.
In this case, we will only need 1 PDF for the die cut:
- 1 PDF of the shape in 100% black.
Die Cut Interior Page
We will need a total of 2 PDFs for the applicable page or spread:
- 1 PDF of the shape in 100% black.
- 1 PDF of the printed page artwork WITHOUT the die cut shape. There is an inherent manufacturing variance of 1-2 mm that can happen during production. If you include the die cut shape with the printed artwork, this may potentially cause an issue with your die cut when attempting to register the cut with the printed artwork. To put it simply: Odds are high the printed shape and the actual die cut shape will not line up perfectly and things will look wonky!
You should just be creating a separate layer for the die cut shape and exporting out that layer with the printed layer turned off for the die cut shape PDF. Again, reference the above video if needed.
