PrintNinja - online printing made easy for creators
Recommended Resolution
This article explains the recommended resolution for printing projects.
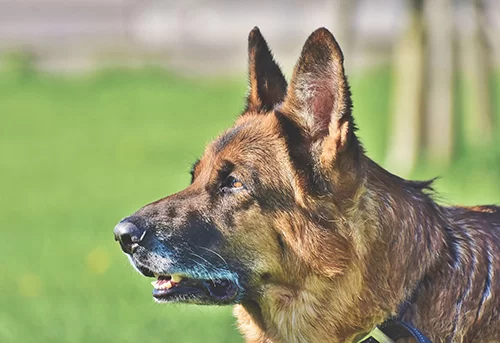
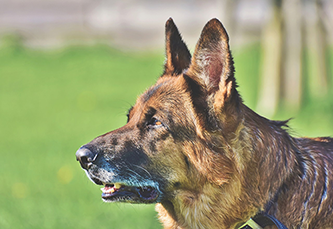
Resolution is measured in ppi (pixels per inch) when talking about images on a screen, or dpi (dots per inch) when talking about printed images. The images below have been zoomed in to simulate how they will look when printed.
High Resolution Images (Recommended Resolution for Printing)
For printing, the recommended resolution for all images and art files is 300 dpi. The offset press cannot accurately reproduce resolutions above 300, so it is the industry standard.
note: submitting files at a resolution higher than 300dpi does not improve print quality, and beyond a certain point it makes the files too large to process easily. For this reason, PrintNinja sets a maximum resolution of 400dpi for submitted files.
The image of Billy the dog to the right is 300 dpi
Medium Resolution Images
Sometimes, the only images or art files available are under 300 dpi. If your images or artwork are in the 200 dpi-300 dpi range, they will still look pretty good, although not quite as sharp as images at a full 300 dpi.
The image of Billy the dog to the right is 200 dpi
Low Resolution Images
Images with less than 200 dpi resolution are considered low resolution, and they will exhibit notable pixelation / blurring in the final printed product.
The image of Billy the dog to the right is 72 dpi
Images used on the internet are typically 72 dpi. This is a suitable resolution for websites since it enables a small file size and does not look visibly pixelated on most computer screens.
However, images at 72 dpi will ALWAYS look pixelated and low-resolution when printed.
WARNING: Don’t Upsample
It may seem like a good idea to open up your artwork in Photoshop and just change the resolution setting from 72 dpi to 300 dpi. However, this doesn’t actually increase the resolution in your artwork, it just makes the pixels in the pixelated image larger. This is called upsampling, and while these images will technically read as 300 dpi once you expand them, they will still look just as pixelated / blurry on the printed page.
PrintNinja Tip
Make sure your files are no larger than 400dpi. Our printing machines cannot print over 400dpi. Submitting a file with a higher dpi may delay your electronic proof, as it takes longer for our prepress reps to download files of that size.
How to Rasterize Complex Vector Graphics in Adobe Illustrator
Sometimes artwork composed of many complex vector graphics cannot be processed properly for proofing. If this applies to your artwork, your prepress ninja will request that you resubmit your artwork with the complex vector graphics rasterized. The following guide will walk you through how to make that adjustments in Adobe Illustrator:
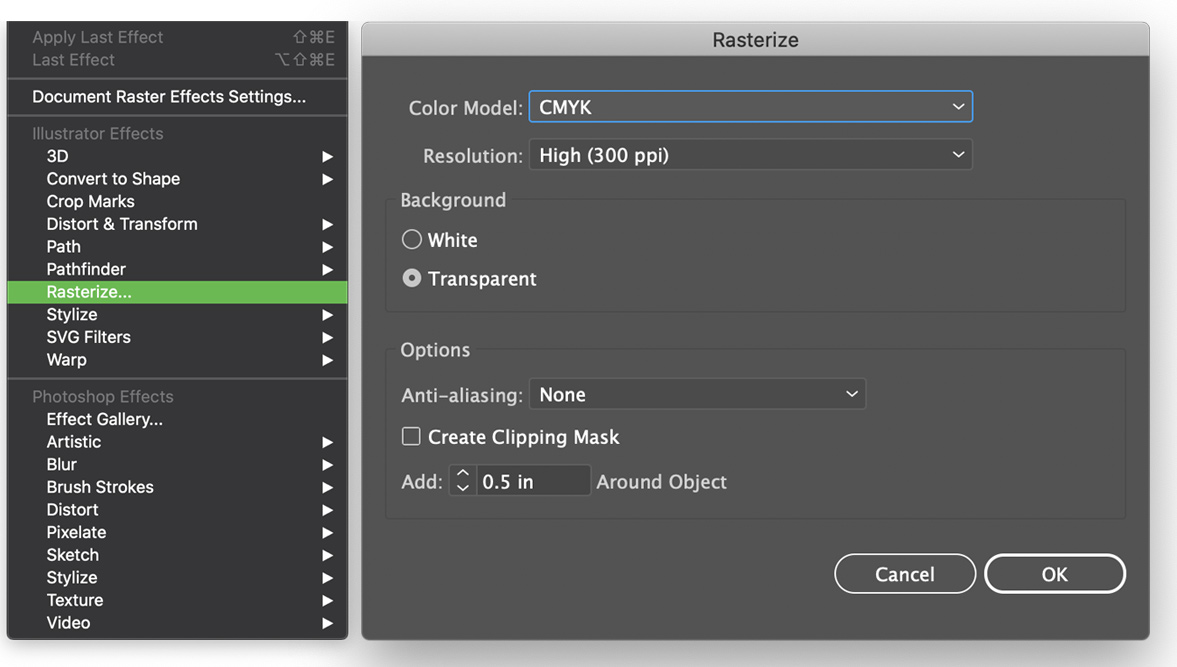
Without making a copy, you can select the vector artwork and choose [Effects > Rasterize] from the top navigation bar. You should select “Color Model: CMYK” (or “RGB”/”Grayscale” depending on the working color space of the document) and “Resolution: High (300 ppi)”. You can leave the other settings as default or make adjustments if you’d like, then click “OK”.
Now, because the rasterization has been applied as an effect, you can turn it on or off, change the settings, or delete it in the Appearance panel [Window > Appearance] at any time.


