PrintNinja - online printing made easy for creators
Foil Stamping Setup Guide
Follow along with our foil stamping setup guide to learn how to correctly prepare your files for printing with PrintNinja.
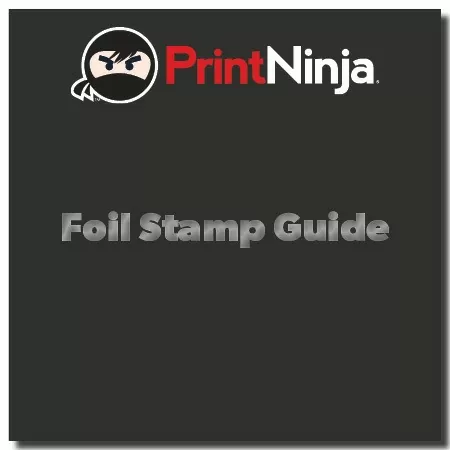
The image to the right shows how your final cover will look with the foil stamp applied. The “Foil Stamp Guide” text will be foil stamped, while the black background and the PrintNinja logo will be printed.
Design Considerations and Restrictions
- PrintNinja can foil stamp solid shapes and lines. Please note: Large solid blocks of foil do not apply well to faux leather or cloth cover projects.
- Soft edges or gradients cannot be foil stamped.
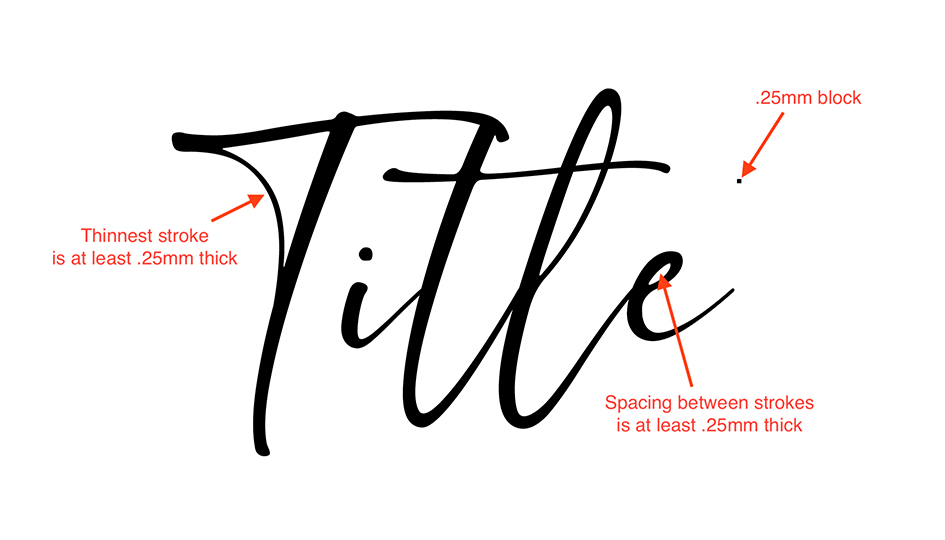
- Very small and finely detailed artwork may not translate accurately during production. “Plugging” may happen if the artwork and the spacing between the artwork elements aren’t at least .25mm. Plugging is essentially the foil stamp clumping together. That being said, please always reach out to your account manager or prepress manager to confirm your artwork will apply correctly without any necessary adjustments. Please see below for an image example to help clarify:
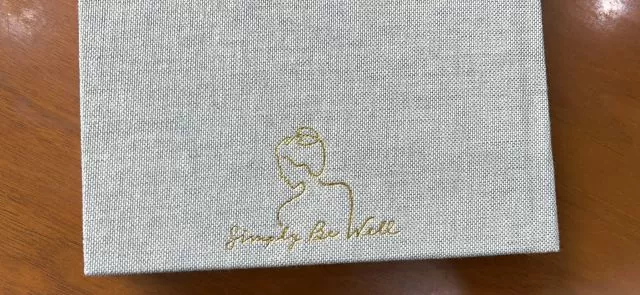
- Intricate Foil Stamping is NOT recommended for Fabric or Faux Leather covers. The material does allow for fine detail. We recommend increasing minimum line weight and line spacing to 0.75-1mm. Below is an example of 1mm line weight on an oatmeal fabric cover:
- For areas that will be both Foil Stamped and Debossed, we recommend increasing minimum line weight and spacing to 1mm.
- Foil stamps on all components including cards, covers, etc. must be at least 0.125″ away from any trim lines.
- There is an inherent manufacturing variance of 1-2 mm that can happen during production. This may potentially cause an issue with your foil stamp when attempting to register the foil stamp with the printed artwork. You may want to consider removing the CMYK-printed elements from your design to ensure it will still appear how you expect if the foil stamp placement is slightly misaligned with the printed artwork. There is no way to remove this manufacturing variance.
- CASEBOUND HARDCOVERS (INCLUDING FAUX LEATHER & CLOTH)
– Foil stamp artwork must be at least .125” inside foldover areas.
– Foil stamp artwork must stop .125” away from the hinge areas on either side of the spine.
– Foil stamp artwork can be placed on the spine, but it must be at least 2mm away from the left and right edges of the spine.
– Foil stamp artwork cannot cross over the hinge and spine area continuously. - PERFECT BOUND COVERS
– Artwork crossing over the spine and score areas is not recommended due to the high potential for cracking.


If you have specific questions, please contact your account manager.
Video Walkthrough
For a video walkthrough on how to set up your foil stamp, check out our visual guide:
Foil Stamp File Submission Guidelines
To add foil stamped details to your cover, you will need to submit two unique versions of your cover artwork file. Both should be sized correctly according to our cover guides.
Cover File #1: A full-color file that contains all content (images and text) on your cover that will be printed, not foil stamped. The foil stamping process is applied after your cover is printed. Any printed elements under the foil stamped area will not be visible.

Cover File #2: A single-color file that contains only the foil stamped area in solid black.
In the image below, note that only the foil stamped area is included in this file. For accurate results, the printed area must align perfectly with the foil stamped area.
